1. Choose the photos
Start with the shots a buyer wants, in the order they would walk the home: the front exterior, the main living space, the kitchen, the primary bedroom, then one memorable extra such as the garden, the pool or the view. Five to eight photos make a 20 to 40 second video, which is the length most agents post.
- Well-lit, straight-on photos at least 1600 px wide. Wide-angle interiors give camera moves room to travel.
- JPEG, PNG or WebP up to 25 MB each. Export HEIC photos from an iPhone as JPEG first.
- Photos you own or have permission to use. Ask the photographer before reusing a shoot, and keep your MLS rules in mind for the unbranded cut.
Upload them in the studio library: open the listing editor and drop the files where it says Drop listing photos here. Originals stay untouched; every clip and render is a new file beside them.
2. Decide which rooms get real motion
Each photo in a listing video is a scene, and a scene is either the still photo with a camera move or a clip. Airift makes two kinds of clip:
| Airift Motion | AI engines | |
|---|---|---|
| What it does | Moves the camera across the photo: push in, pull back, pan, tilt, drone rise. Nothing in the picture changes. | Generates new frames with parallax, so the camera appears to walk into the kitchen or rise over the roof. |
| Cost | Free and unlimited on every plan. | Credits, shown on the button before you generate. A five-second Seedance 1.0 Pro clip starts at 5 credits. |
| Time | Seconds. | Usually one to three minutes. |
| Review | Not needed; the photo is unchanged. | Needed. Engines can invent small details, so check windows, doors, mirrors and layout against the property. |
A good rule: Airift Motion for every room, and one or two AI clips for the hero shots, usually the exterior and the main living space. Make them in Image to Video with Kling 2.6 Pro for real parallax from one photo, or start from a shot template such as Curb appeal push-in or Drone reveal, which pin the move and the engine. Select several photos at once and Airift queues one clip per photo with the same settings.
3. Build the sequence
Open Listing Video in the studio and choose Add photos or clips. Pick from your library in the order you want them. A project holds up to 30 scenes, and the arrows on each scene move it up or down.
- Length. A photo starts at 3.5 seconds; Shorter and Longer change it in half-second steps between 2 and 10 seconds. A clip plays for its own length, up to 10 seconds.
- Title over the first scene. The headline, address and facts line sit on the opening shot, which is held for at least 4.5 seconds so they can be read.
- Room captions. Each scene can carry a short caption such as Chef's kitchen or Primary suite.
- Transition. Crossfade, 0.6 seconds and the default, or a hard cut.
- Theme. Dusk, Ivory, Noir or Coastal set the colours of the title card, captions and closing card.
- Closing card. Four seconds of agent details on the branded cut, or a property recap on the MLS-unbranded cut.
The preview bar under the scenes shows the running length. The sample at the top is five scenes at 3.5 seconds with a title card, crossfades and a closing card: about 23 seconds.
4. Add the details
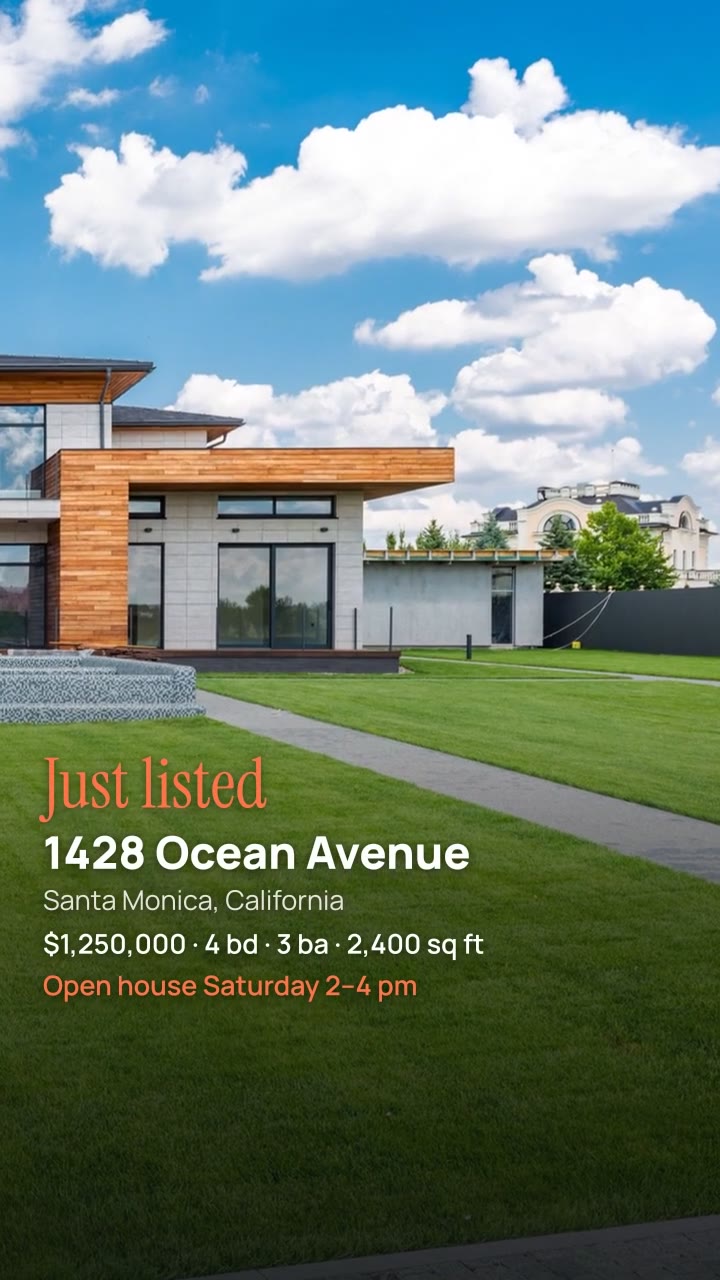
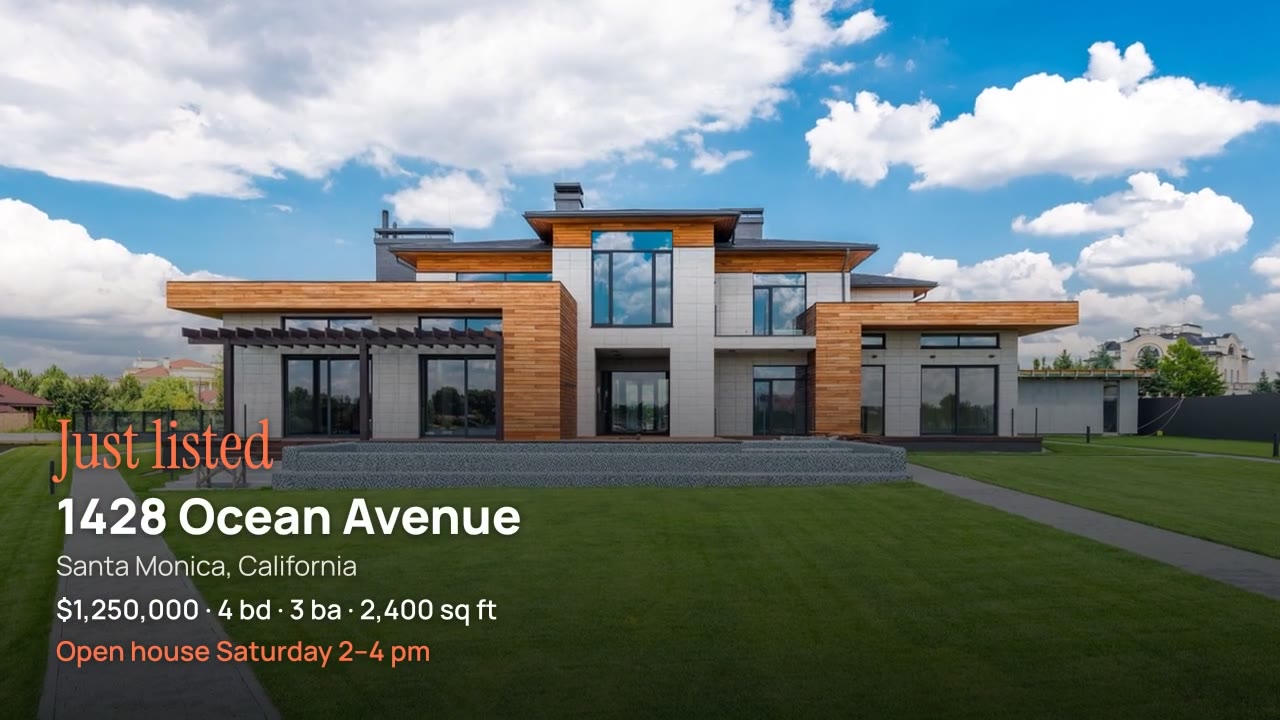
Under Add your details, choose a headline (Just listed, Open house, Just sold, Price improved, Coming soon, For rent or Under contract) and enter the street address, city, price, beds, baths, area and an optional extra line such as the open-house time. The editor turns them into the title card and a facts line like $1,250,000 · 4 bd · 3 ba · 2,400 sq ft. Enter only facts you have checked against the listing agreement; a video is harder to correct than a web page.
The agent card on the closing shot comes from the brand kit in Settings: name, title, brokerage, phone, email, website, headshot and logo. Set it once and every branded render uses it. A reel template such as Just listed or Open house starts a project with the headline already chosen.
5. Choose the music
Pick one of the five included tracks, from warm acoustic to bright pop (all released under CC0, so they are safe to publish), upload a track you hold the rights to, or choose No music. The track fades in and out with the video automatically. Some booking portals restrict added music; the Airbnb and Vrbo guide covers that case.
6. Render and export
Choose the formats and versions you need, then press Render. Rendering is free on every plan and takes about a second per scene; you can leave the page, and the files appear in your library.
| Format | Pixels | Use it for |
|---|---|---|
| 16:9 landscape | 1920 × 1080 | The MLS virtual tour field, YouTube, your website |
| 9:16 vertical | 1080 × 1920 | Instagram Reels, TikTok, YouTube Shorts |
| 1:1 square | 1080 × 1080 | Feed posts and ads |
| 4:5 portrait | 1080 × 1350 | The Instagram feed |
Every format is rendered from the same edit. A landscape photo is cropped to the vertical frame around its most detailed area, and the title, captions and card are laid out again for the shape. Branded adds the agent card; MLS unbranded replaces it with a property recap, because most MLSs forbid agent branding in the virtual tour field. On the free plan renders are 720p with a small Airift mark; paid plans export 1080p MP4 (H.264 video, AAC audio) without it.
7. Review before you post
- Play every render to the end once. Check the address, price and facts line against the listing.
- Compare each AI clip with the original photo. Windows, doors, mirrors and ceiling lines are where engines slip; regenerate with another move or engine if something moved.
- Use the unbranded cut for the MLS, and check your board's rules on virtual tours.
- Label edited photos. If a scene uses a virtually staged, decluttered or day-to-dusk image, say so in the listing. Airift labels them in your library so the originals stay easy to find.
Free account, no card. Listing renders never cost credits.